Showing posts with label Pressure Canning. Show all posts

How to Make Healing Turkey Bone Broth

Mmmm wasn't Thanksgiving dinner delicious? I have to say that I stuffed myself thoroughly and enjoyed every minute. Mashed potatoes and gravy are usually my favorite dish but this year my new sister-in-law made the best stuffing I have ever tasted. I had 3 helpings!

Even with how good the Thanksgiving meal is, I still can't eat the same dish day in and day out. But there is always so much food left over.

Being provident means to put all of your resources to use and let nothing go to waste. One of the things I wanted to try this Thanksgivng was to make my own turkey stock and can it for my food storage. Since it is a low acid food it needs to be pressure canned.


Any kind of stock is easy to make but pretty time intensive. Get started early in the morning and you will enjoy the delicious aroma that fills your house all day.

Ingredients
Turkey Carcass- body, wings and legs,
3 Celery stalk ribs with leaves still attached
3 Carrots, unpeeled but with the tops cut off
1 Onion, quartered with the skin still on
3 Cloves of garlic, whole
6-8 Peppercorns
2 tsp Salt
2 tsp dried thyme
1 tsp dried sage
1 bay leaf

Directions
1. 

Gather your left over turkey carcass, wings and legs. Strip all the good meat off and save it for later. Throw the carcass in a stock pot with all your vegetables. You may want to break or chop your carrots and celery in thirds to help them fit better. Make sure they are washed really well but not peeled.


 Sometimes I just use the ends of my celery instead of the long ribs. That way you can use the ribs for something else and the ends don't go to waste. Be sure to add the leaves too. They add great flavor.

2. Fill the stockpot with enough water to cover everything. Turn stove on to med-high heat.

3.

Gather your seasonings and make a bouquet garni (boo-Kay gahr-NEE). That is just a fancy word for a little bundle of herbs and spices tied in cheese cloth. I didn't have cheese cloth but I did have a ton of coffee filters laying around so I used one of those instead. Make sure that it is tied well before tossing it in the pot. The herbs are kept separate so that your broth will stay clear.


TIPS for clear broth:
  • Watch your broth. As it heats, scum/ foam will start floating to the top. It's not bad if you leave it in, but it will make your broth cloudy. If you want, skim it out of your broth as it floats to the surface. Sometimes I care and sometimes I don't.
  • If you want clear broth, DO NOT LET YOUR BROTH BOIL. If your broth is allowed to boil then the scum and fat that floats to the top will get reincorporated into the stock before you have a chance to skim it.

4. Let your stock simmer between 4-8 hrs skimming the fat off as it rises to the surface. The longer you let it simmer, the more flavor will come out of the bones and the better it will taste.

When it is done simmering, remove all the bones, vegetables, bouquet garni and strain your broth. You can either use it right away, freeze it or can it.

I kept a jar out to use right away for turkey soup and decided to can the rest.

Pressure Canning Directions
  • Fill clean, quart-size mason jars to within a 1/2 inch of the lid with broth.
  • Screw on some heated lids and bands.
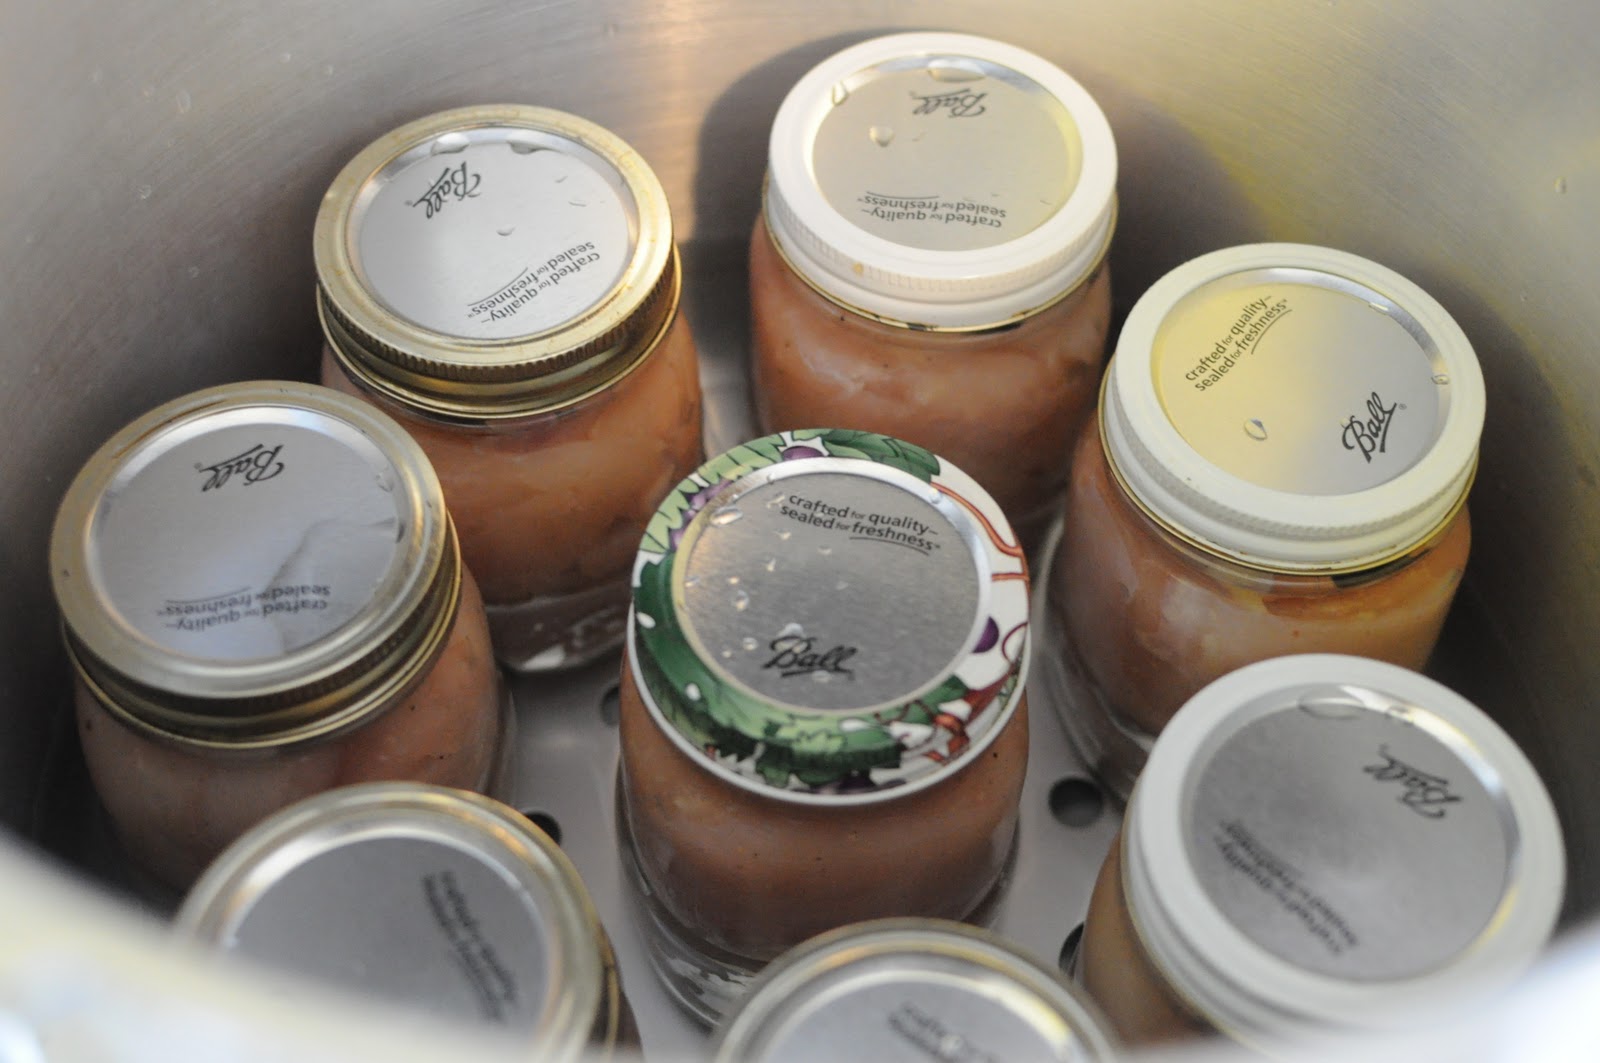
  • Arrange jars in pressure canner so that none of the jars are touching.
  • Fill canner to water line
  • Put on lid and process according to your canner's directions with venting, pounds of pressure for altitude and time. For me it was 13 lbs of pressure for 75 minutes since I was using quart jars.
  • Once processed, set jars aside to cool before dating your lids. Use your stock within 1 year.
Now you have an awesome stock to make turkey soup. If you don't want to make soup, you can use it when you make rice or other grains instead of water. Bone broth has so many healing properties, some like to just drink it plain. I would add more salt though to taste. Click here for my Beef Bone Broth recipe.

How to Can Ground Beef

I've been so busy that I haven't felt like posting lately. I have been canning though, I assure you. I've been keeping my eye on the price of ground beef for a while now and finally one of my grocery stores had it for $1.49/lb.
I hadn't ever canned ground beef before but I was looking forward to it since my chicken turned out to be so easy. 

Let's get started
Prep work. 
  • Make sure your jars are clean.
  • Start warming your jar lids on the stove. Do not boil, you just want the rubber rings to be gummy.

1. Get your meat. 
Usually you want to get the leanest meat you can. Canning it makes it super moist so it's a great way to use the less expensive cuts of meat and still have them be really juicy. The stuff on sale at my store was only 73% lean though so I made some alterations to the precooking process.

2.
Working in batches, brown meat. It took me about 3 batches to brown 5 lbs. I only did 5 lbs at a time because I changed the recipe for the next 5 lbs. And it is way less intimidating that way.

You don't have to brown your meat all the way, it's just for texture when you open the can. Some people don't like it really soft so the browning gives it some definition. As my meat was getting done, I would drain it, then stick it in a stock pot with a little water on low heat to keep it warm. 

Also, here's a little trick I learned about browning ground beef in Chemistry. If you stick a little water in the pan while it browns, the fat and the water don't like each other and the water keeps the fat from reabsorbing into the meat. Sticking the meat into the stockpot works the same way. That is why I wasn't too worried about using a fattier package of ground beef than usual. 

3.
When each batch of meat is almost done, dump some onions in the pan to cook a bit. You don't want them in there too long because they have enough time to cook in the pressure canner. You just want to mix them evenly in with the meat. I used about 1/2 and onion per pound of meat.

4.
Line up your clean jars and using a funnel, carefully spoon your meat into the jars. About 1 lb of beef fits into each pint sized jar. You need about 1 1/4 inches of head space because the ground beef won't expand like the chicken did since it is already cooked.

5.
But, because I'm not putting the meat in raw like I did the chicken breasts, the meat won't make enough of its own juice so I need to add some. This is some of the water from the stock pot that held the beef. It turned into a mild beef broth that I used to fill my jars with. I just used my gravy separator (which by the way, I love!) to make sure I didn't put any fat back in. Fill the jars to cover all the meat, keeping in mind your head space. As you pour, take a rubber (or non-metallic) spatula and work out any air bubbles that might be in the meat.

Option 2. 
On my second batch of ground beef, I used tomato sauce to fill my jars with. These jars I'm planning on using in spaghetti, sloppy joes, chili or anything that I would normally end up putting tomato sauce in anyway. This way the meat is already flavored. I watered it down by a ratio of 1:1 to make it easier to pour.

6.
If you want your meat seasoned a little bit more, put 1 tsp of pickling salt in each pint. The flavor will mix as it is in the pressure canner. Make sure only to use pickling salt. Regular table salt will make your jars turn foggy. You could also just put 1 tsp of  beef bouillon in instead.

7.
Make sure to wipe the rims of your jars really well with a hot, clean towel. You don't want any grease on the rim to prevent your lids from sealing.

8.
You are ready to put the lids on the jars. Use a magnetic lid lifter to avoid burning yourself. I've don't this one too many times when trying to just use a fork to lift them.


9.
Put your jars in your pressure canner, and follow the instructions that came with it for pressure and timing based on altitude. This is the Presto 1781 23-Quart Aluminum Pressure Cooker/Canner. For ground beef pints at my altitude I used 13 lbs of pressure for 75 min. For a step by step process in pressure canning check out my post on canning chicken

10. Ta Da!

So they might not be the prettiest looking jars of food, but believe me, it tastes fantastic. The tiny bit of congealed fat at the top is totally normal. I made tacos out of my first jar and no joke it was exactly like the taco meat you get at Taco Bell. Mmmm so good! I'm very happy with how it turned out. 

Don't forget to label your jars! This meat will stay good for a year or longer. If you have a jar that didn't seal, just stick it in the fridge and use it soon. It's fun to see how your meat turned out anyway.

As with any canned meat, the USDA recommends boiling/ heating the meat for 10 minutes once it is opened just to make sure all bacteria is killed.

Ground beef is one of the things I'd been wanting to try canning for a long time. I'm glad I finally did it and am happy to post about it. I'd love to hear some of the things you've been wanting to try too. 

Happy Canning

How to Can Chicken

I love canning. I love that I know exactly what is going into the food I feed my family. And, I love making use of a good deal. I don't know if it is just the accountant in me, but I love knowing that I am saving money. 

One of my sisters-in-law invited me to a home canning presentation over the summer where I tasted home-canned meats for the first time. They were so good. So juicy, great flavor. Since then, I've been wanting to try canning meat. I was a little intimidated by the fact that you have to use a pressure canner. Water bath canners cannot get hot enough to kill all of the bacteria in the food. 


I put it off until one of my grocery stores had a deal on boneless, skinless chicken that I couldn't resist. I ended up buying 15 lbs.

I was surprised by how easy it was. You need to follow the instructions that come with your pressure canner. They can vary slightly, but sometimes it's nice just to see the process.

The nice thing about canning meat is that you can put it in the jars raw. They cook in the pressure canner for so long that there is no need to cook beforehand.

Directions
Prep work. 
  • Make sure all your mason jars are clean. Technically, you don't need to sterilize them because the pressure canner cooks them at such a high temperature that they get sterilized then. I still sterilize them beforehand though, I guess I'm just paranoid.
  • Warm your jar lids in water to get the gummy rings softened. Do not boil.

1.
Get your chicken and cut off any visible fat. You can put the chicken in as whole breasts but I wanted to slice mine into tenders. That way I figured I could reduce air bubbles. I sliced my chicken and seasoned with a little pepper as I went. You don't need to season them if you don't want to though.

2.
Stuff your raw chicken into clean mason jars. 1 pint jar holds about 1 pound. Leave 1 1/4 inch head space. The chicken will release its juices as it cooks and you don't want it to touch the lids or it might make them not seal.

               
I put chicken base Better than Bouillon in my jars. It just intensifies the flavor of the chicken as it cooks.You can use a bouillon cube or powder instead if you want.

3.
Wipe all your jars with a hot towel to remove any chicken juices that might've gotten on the rim. Use a magnetic lid lifter to lift lids out of hot water and place on jars. Screw rings on til finger tight. They have to be able to release some air so don't screw them on ridiculously tight.

4.
Place jars on rack in the pressure canner making sure that they don't touch. They need to be on the rack so they don't touch the bottom of the canner directly and get too hot. Follow pressure canner instructions for amount of water to fill. Usually there is a line on the canner that shows you how much. About 11/2-2 inches.

5.
Place lid on your pressure canner following directions from manual. I'm using the Presto 1781 23-Quart Aluminum Pressure Cooker/Canner. Turn to high heat. Vent steam for 10 minutes. Place on vent block and bring to pressure depending on altitude. Once pressure is reached cook for 75 minutes for pints. Slowly turn down the temperature as it builds pressure until it is just right. You need to babysit the canner to make sure that the temperature doesn't drop below what you are supposed to can it at or you will have to bring it to pressure again and start the time all over. It isn't as hard as it sounds. You can find a setting on your stove where it will hover around the right temperature without building or losing pressure. For me, it was on 4. If you have a gas stove it is much more precise.

6. Once the 75 min are up, remove the canner from heat and let it slowly release pressure. You do not need to do anything, this happens naturally as it begins to cool. Once the pressure gauge reads zero and the pressure indicator drops, you can take off the lids, and remove jars. Place them on a towel to cool. 

7. Don't forget to label your jars. Canned chicken will last for over a year, but I doubt you will be able to wait. I made Chicken Enchiladas with the chicken and my husband without knowing that I used my canned chicken declared them my best yet! He was nervous about me canning meat because he was afraid of how it would taste so I didn't tell him til he'd already eaten it. Tricky, tricky, I know.

ENJOY!

When I first opened the can, I tasted it to see how it turned out. It smell and tasted just like the canned chicken you can get at the store. I buy that usually just for making chicken salad sandwiches but with your canned chicken, you can use it to make anything you usually need shredded chicken or chicken chunks for. And it is so easy to shred. I basically just pressed my fork against it and it fell apart. 

It is recommended to heat/boil canned meats for 10 min after opening just to make sure that any bacteria is killed. If you are going to use it in a casserole or other dish that needs to be heated anyway, I don't bother with preheating, I figure it gets hot enough for long enough while cooking.