

How to Can Chicken
I love canning. I love that I know exactly what is going into the food I feed my family. And, I love making use of a good deal. I don't know if it is just the accountant in me, but I love knowing that I am saving money.
One of my sisters-in-law invited me to a home canning presentation over the summer where I tasted home-canned meats for the first time. They were so good. So juicy, great flavor. Since then, I've been wanting to try canning meat. I was a little intimidated by the fact that you have to use a pressure canner. Water bath canners cannot get hot enough to kill all of the bacteria in the food.
I put it off until one of my grocery stores had a deal on boneless, skinless chicken that I couldn't resist. I ended up buying 15 lbs.
I was surprised by how easy it was. You need to follow the instructions that come with your pressure canner. They can vary slightly, but sometimes it's nice just to see the process.
The nice thing about canning meat is that you can put it in the jars raw. They cook in the pressure canner for so long that there is no need to cook beforehand.
Directions
Prep work.
- Make sure all your mason jars are clean. Technically, you don't need to sterilize them because the pressure canner cooks them at such a high temperature that they get sterilized then. I still sterilize them beforehand though, I guess I'm just paranoid.
- Warm your jar lids in water to get the gummy rings softened. Do not boil.
1.

Get your chicken and cut off any visible fat. You can put the chicken in as whole breasts but I wanted to slice mine into tenders. That way I figured I could reduce air bubbles. I sliced my chicken and seasoned with a little pepper as I went. You don't need to season them if you don't want to though.
2.

Stuff your raw chicken into clean mason jars. 1 pint jar holds about 1 pound. Leave 1 1/4 inch head space. The chicken will release its juices as it cooks and you don't want it to touch the lids or it might make them not seal.

I put chicken base Better than Bouillon in my jars. It just intensifies the flavor of the chicken as it cooks.You can use a bouillon cube or powder instead if you want.
3.

Wipe all your jars with a hot towel to remove any chicken juices that might've gotten on the rim. Use a magnetic lid lifter to lift lids out of hot water and place on jars. Screw rings on til finger tight. They have to be able to release some air so don't screw them on ridiculously tight.
4.
5.

Place lid on your pressure canner following directions from manual. I'm using the Presto 1781 23-Quart Aluminum Pressure Cooker/Canner . Turn to high heat. Vent steam for 10 minutes. Place on vent block and bring to pressure depending on altitude. Once pressure is reached cook for 75 minutes for pints. Slowly turn down the temperature as it builds pressure until it is just right. You need to babysit the canner to make sure that the temperature doesn't drop below what you are supposed to can it at or you will have to bring it to pressure again and start the time all over. It isn't as hard as it sounds. You can find a setting on your stove where it will hover around the right temperature without building or losing pressure. For me, it was on 4. If you have a gas stove it is much more precise.
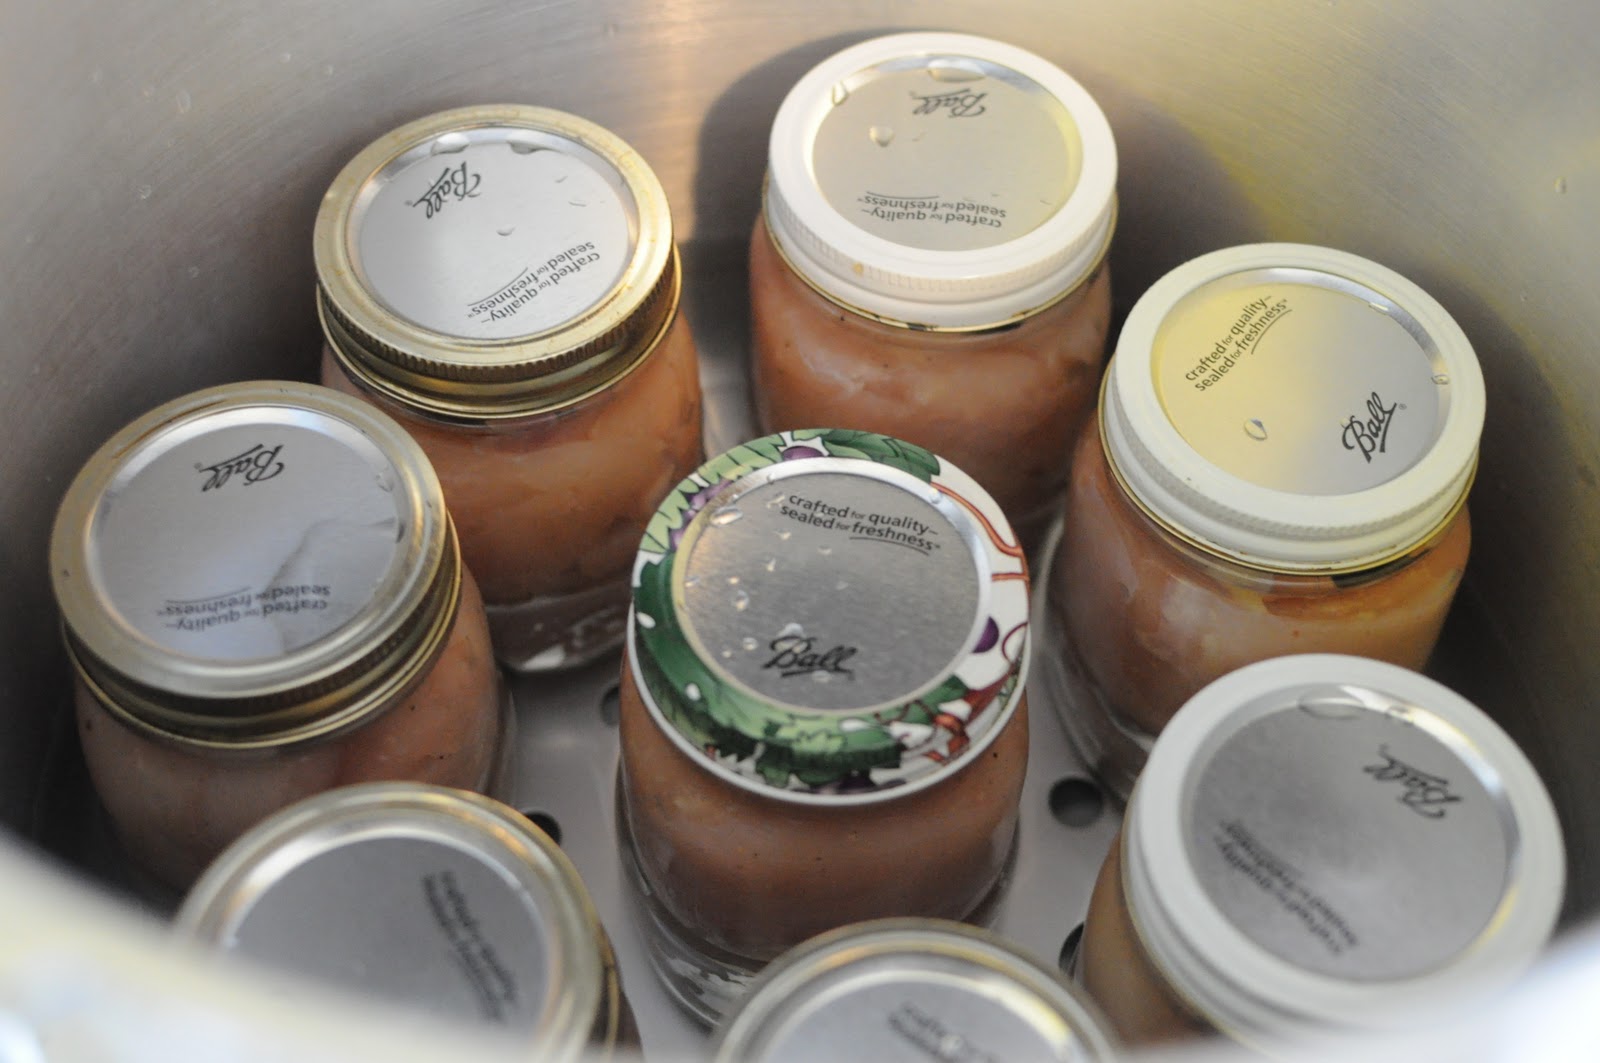
6. Once the 75 min are up, remove the canner from heat and let it slowly release pressure. You do not need to do anything, this happens naturally as it begins to cool. Once the pressure gauge reads zero and the pressure indicator drops, you can take off the lids, and remove jars. Place them on a towel to cool.
7. Don't forget to label your jars. Canned chicken will last for over a year, but I doubt you will be able to wait. I made Chicken Enchiladas with the chicken and my husband without knowing that I used my canned chicken declared them my best yet! He was nervous about me canning meat because he was afraid of how it would taste so I didn't tell him til he'd already eaten it. Tricky, tricky, I know.
ENJOY!
When I first opened the can, I tasted it to see how it turned out. It smell and tasted just like the canned chicken you can get at the store. I buy that usually just for making chicken salad sandwiches but with your canned chicken, you can use it to make anything you usually need shredded chicken or chicken chunks for. And it is so easy to shred. I basically just pressed my fork against it and it fell apart.
It is recommended to heat/boil canned meats for 10 min after opening just to make sure that any bacteria is killed. If you are going to use it in a casserole or other dish that needs to be heated anyway, I don't bother with preheating, I figure it gets hot enough for long enough while cooking.


Thank you for this tutorial! I have been considering canning, but have been terrified about the whole process. Your blog is truly an inspiration!
ReplyDelete